Wednesday, June 29, 2011

Section 9 Nutted

I only had the opportunity for a very quick session tonight, like 20 minutes,  after the paying job, but it was enough to finish the stabilator and therefore  Section 9 in the manual.

Work tonight involved temporarily fitting the counterweight arm to the stabilator assembly,  match drilling the lead counterweights and fitting the counterweights to the counterweight arm.

It's all done, goodbye Section 9.


You would not have to be too observant to see that I am already running out of storage places  for completed parts, I really do need to give that some serious attention. The bits that are coming are even larger, we might have to move out of the house....................

Next it's hello tailcone. That is the kind of cigar shaped cylindrical part between the tail section, now completed and the bit you sit in, roughly between the wings. For those of you foolish enough to be regularly keeping up with progress, you'll need to be patient. On Friday we embark on a 1 week houseboat voyage on the Murray River with Tim & Kylie, Remy and Danger (Taylor), Kylie's Mum and Emu (Greg) and Sue. I'll post some photos on our return. This should provide some light relief for those of you who are bored witless by aircraft construction.

See you then!

Monday, June 27, 2011

Moving right along

Yesterday I managed a reasonably early start to what proved top be a pretty satisfying day's work on the stabilator.The first order of the day was to finish preparation of the skins, as usual deburring edges and holes. Let me tell you there are lots of holes! This is the right skin ready to go.


Once they were complete you slide the the spar box assembly inside the skin and cleco it in place. It's amazing hole precise this kit is, all of the holes aligned beautifully. Don't you just love it when a plan comes together. This is starting to look like a big job so I whistled up assistant aircraft constructor Tim to help. To fill in time I prepared the aft ribs by deburring etc. When he arrived we began in earnest clecoing, riveting de-clecoing (might be a new word) until eventually both skins were securely in place. It sure helped having assistance for this as it saved changing tools every few seconds to de-cleco and rivet. Its a shame I didn't take more photos, I must do better at remembering that. I do have one of progress with skins on though. AAC Tim is pictured.


The next step is to affix a splice that secures the two skins together at the rear of the stabilator and to rivet the previously prepared hinges in place that are the attach point for the anti servo tabs that I previously constructed. I do have a photo of that. You can see in the distance the aft ribs which also get riveted in place at this point.


We're in the home straight now with just three jobs to go. First is to fix in place the Aft Skin on both the left and right sides. Here is the right side clecoed in place ready for riveting.


And the left side all complete.


The second last job is to bolt in place the upper and lower control horns. Here they are.


 The very last task in Section 9 is to prepare and fit the counterbalance arm, it goes in the hole you can see above. But that is a task for another day. Here is the almost completed stabilator. Isn't that a thing of beauty!


Saturday, June 25, 2011

Back on track

This morning, we journeyed to Adelaide to get Carol's glasses sorted out.

Back to the ACF at midday and working to get  back on track now that the
parts have arrived.

The first task was to reconstruct the stuffed up vertical stabilizer upper hinge assembly. Here it is ready to be bolted on.


The infamous missing WD 1208 lower stabilator horn was clecoed in place, the holes final drilled and the nutplates to which it is fixed were installed on the forward and aft spars. I'd like to show a picture of this, but I don't have one.

Here is the completed spar box assembly ready for the rib clips and ribs to be installed.  


At this point the aft ribs are clecoed ready for riveting.


The forward ribs are clecoes and riveted in place. The stabilator skeleton assembly is now complete.


There is one more job before the skins are introduced. This is to install the stabilator hinge brackets to the forward spar. These were prepared the other day with nutplates riveted in place and  spacers cut from aluminum tube. The installation requires the brackets to be bolted in place. The spacers need to be  to be a snug fit between the brackets. Mine weren't. Fortunately there was some tubing left so I was able to cut some more to fit. I hope that tube was not meant to do somewhere else........... Here are the brackets completed.

 
The last job for the day was to begin preparation of the stabilator main skins for riveting to the stabilator skeleton. I worked on the right skin, deburring the holes and removing the blue plastic.


Tomorrow I will debur the edges of the skin and repeat all these processes on the left main skin.

It's good to be back on track, building in sequence according to the plans. All in all, a satisfying day,

Thursday, June 23, 2011

The eagle has landed

Today the postman brought me an eagerly awaited parcel. There's a family eating event tonight so it's not likely that progress will resume tonight - looking good for a building burst on the weekend though!

Sunday, June 19, 2011

Looking for things to do

A quiet day today with not too much to report. I can't build in sequence due to the missing part, so  I spent a few hours preparing parts for future assembly. Mostly deburring edges and holes. Its quite boring work but it only needs to be done once and when I get to that part, It will be nice to have the monotonous stuff done.  These are the stabilator ribs and the aft hinges.


The hinges were primed and the holes drilled. It was temporarily clecoed to the right skin so that a couple more holes could be drilled.

Lets see what the mail man brings tomorrow. Niece Christine is staying with us for the week, I wonder if she is attracted to plane building....................somehow I doubt it!

Saturday, June 18, 2011

Where is that part....................

Light rain and wind in Angaston today, no chance of flying. I think I need rearrange my work life to have days off during the week and work on weekends. There was no such problem in the ACF though so it proved to be  a quite useful day with only a couple of stuff-ups, fortunately minor and lots of learning.

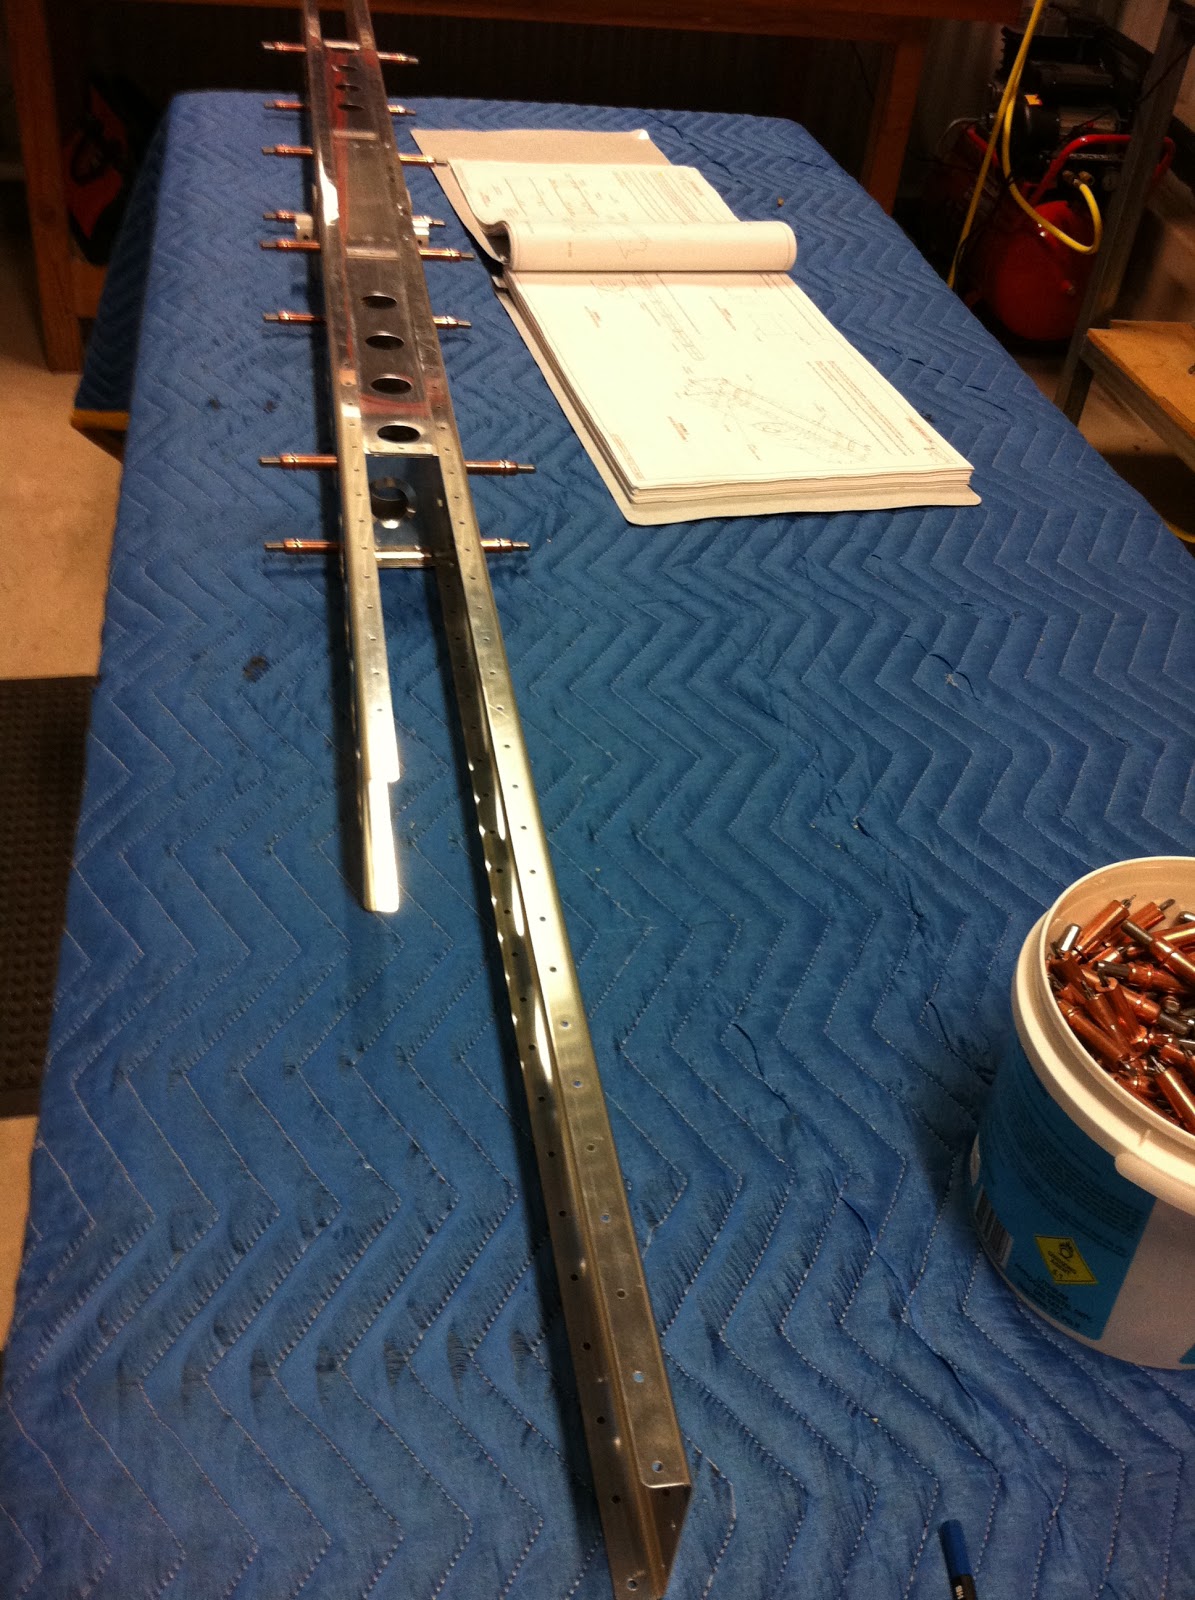
So following some domestic chores and assisting Tim who picked up the camper for a tip to Berri for the weekend, it was full steam ahead. The first job today was to cleco in place the upper and lower control horns to the spar box assembly, just like this.


Let me tell you, this is far from the most difficult construction task, but it was made almost impossible by the fact that the lower horn is currently at a place unknown somewhere between Oregon and Angaston. Indeed this is the infamous missing part from the original shipment.  An email on Thursday to Vans elicited the following response:


Mr. Moen,

Thank you for your email.

Your package shipped via regular USPS 1st Class Mail on May 31st.

I'm sorry, there is no tracking for this service. Delivery to Australia can take anywhere from 2-6 weeks for this service. On very rare occasions it can take longer.


If the package has not arrived by July 12th, Van's will replace the shipment at our cost.


thank you,

Jessica V.

I replied:

Thanks for following this up.


Given that this is the first 'ad hoc' shipment to me, no doubt not the last, I need to ask, is this the normal mode of shipment with up to 6 weeks, or longer delivery time?


Regards

And the reply:
Mr Moen,


No it it not, but sometimes this does happen.

I am sorry for the trouble.


Theresa

Vans shipping

So I wait impatiently and desperately trying to find work-arounds so work can proceed. I final drilled and pre-fitted the horn that is to hand and moved on to preparing and installing the counterbalance brackets and counterbalance arm. Here are the brackets clecoed temporarily in place to allow drilling of the counterbalance arm.

The counterbalance arm was drilled to take the bolts that will hold it in place (forgot to take a photo) Here are the brackets riveted in their proper place

 The next step involves fixing the dreaded nutplates and doublers to the forward and aft spar in this fashion.

 Due to the absence of the lower horn (did I mention it is not here!) I was unable to install four of the nutplates that will hold it in place, but I finally managed to get the others in place. I say finally because  I managed to rivet  in four locations omitting the nutplates. This gave me some more practice in drilling out rivets, I'm approaching expert status with this make-good technique. I hope there are plenty of spare rivets................


Onwards and upwards. Step 7 is mercifully simple, just installing a nutplate in each of the outboard hinge brackets.


Step 1 on page 09-05 has you cutting four hinge stops, precisely measured from a length of aluminium tubing.

 
Step 2 on the same page requires the separation of  6 Rib Clips from a single piece (love that band saw) and deburring. Here they are:


And that folks, brought proceedings to a halt for this day. A quick tidy and sweep up of the ACF  and celebration of a good day's construction with a glass of excellent Barossa Red.

Looking ahead. I'm in a bit of trouble. The next step involves clecoing and riveting together the spar box and the front and rear spar caps. Unfortunately I can't do that until I have the absent lower horn. I can do some preparation work on the ribs and perhaps the hinges. Perhaps I will be able to do some preparatory work on the tailcone, which is the next section. We shall see.

Wednesday, June 15, 2011

A pause in proceedings

I'm not sure what happened to last week. I think a combination of busy home life and very cold nights and preparations for a weekend away. The long and short is no time spent in the ACF during the week. On the long weekend Carol and I enjoyed a couple of days camping in the Flinders Ranges. We had a great time but it did not advance airplane construction one iota.

Tonight I repaired to the ACF determined to move forward once again. I fired up the heater and resumed work on the stabilator. I  finished preparation (deburring and countersinking) of the hinge brackets, the spar cap spacers and the doublers. Here are the spacers and doublers ready for assembly:

The next step is to cleco the Spar Cap Spacers, the Inspar Ribs and the two spar caps together  ready for riveting. it looks like this.


You wouldn't believe it,  the ACF heater chose this moment to expire for lack of fuel. With the ambient temperature hovering around 3 degrees C, it was not hard to persuade this constructior to retire the the warmth of the house. Hence another pause in construction........

Looking ahead at the plans I see one of the next steps involves the missing part from the kit, one of the stabilizer horns. This is supposedly in transit from Vans, though no yet to hand. I think I'll send an email to confirm it is on it's way.

Sunday, June 5, 2011

Work commenced  on Sunday with a leisurely start  at 0930 following breakfast and a read of the Sunday Mail.

Page 08-03 Step 5 is about preparing the hinges that will attach the Anti Servo Tabs to the Horizontal Stabilizer. The hinges were cut to length, primed and holes drilled using the drill guide provided. Assistant Aircraft Constructor Paul returned to the ACF to assist with these tasks. The bottom skins of the  Anti Servo Tabs were clecoed and riveted.  The hinge halves were then riveted to the Anti Servo Tabs to complete these parts.


  These parts now completed and in storage brings us to the stabilator. This is the horizontal device, the movement of which  as well as  power on and power off results in a nose up or nose down attitude of the aircraft. It is another of those control surfaces critical to flight. It looks alike this:


The remainder of build time today was taken up by deburring and preparation of the parts that will enable the commencement of building the stabilator.


The facility was closed down soon after lunch for the purpose of returning Granny Heidenreich home to Adelaide and the relocation  of some aircraft parts (not required for some time)  to Granny's garage. These are the canopy, canopy frame and wheel pants. we will move the upper and lower cowl to the same place on the next trip. 

Saturday, June 4, 2011

Rudder time

This post covers work undertaken on one short session on one night during the week and a good solid day in the ACF today.What's the saying, many short steps make a journey.............

Rudder time! This is a reasonably important control device in an aircraft, it delivers up left and right yaw around a horizontal axis front to rear.


The rudder spar caps and hinges are temporarily clecoed  to the rudder spar and the fit of the hinges to the vertical stabilizer is checked.  Following match drilling and deburring of all parts, the the spar caps, hinges and first rib are riveted together, just like this.


After the spar caps are riveted in place, the bottom rib is riveted to the control horn and the control horn with rib  is riveted to the rudder spar. It looks like this.


The rest of the ribs are clecoed to the spar


  and riveted.


The next job is to fit the skeleton inside the rudder skin and cleco in place and rivet. Assistant Aircraft Constructor Paul visited the ACF at this point  and pulled the rivets.


This is the rudder complete except for the fiberglass fairing that closes up the top. That gets done later.


Time still available,  Paul and I made a start on the Anti-servo Tab. There are two of them, left and right. This is a section of the tailplane that moves up and down in small increments (known as 'trim') that enables fine adjustment of the nose up or nose down attitude of the aircraft in flight.

After deburring of all edges and holes of all parts, we fitted the ribs into the the skins,  clecoed the top skins  in place,


 and riveted them.


This is the riveting complete.


The control horns are prepared are riveted to the inboard end spars.


The spars are clecoed to the upper skin


and riveted in place.


And that seemed an appropriate place to pull stumps for today. All in all, a good and productive days work. The next job is to fabricate and fit the hinges and rivet the bottom skin.

Am I enjoying this? Yes!